A fun way to teach kids about their skin is through an activity on fingerprints. The skin has two layers: the dermis and the epidermis. The epidermis is the layer of dead cells on the outside of the body that waterproofs and protects the living tissues underneath. The dermis is the living skin layer that contains blood vessels, sensory receptors, and the dividing cells that create the epidermal layer. The upper part of the dermis has finger-like projections that stick up into the bottom of the epidermis. These projections, called papillae, allow the sensory receptors to be closer to the surface of the skin. In some areas of the body (palm side of hands and fingers, and bottom of feet and toes) the papillary layer is much thicker, causing it to bunch up between the epidermis and the lower dermis layers. This bunching causes the ridges and valleys we call fingerprints.
Contrary to what most people think, identical twins do not have identical fingerprints. Although genetics does determine the basic pattern, conditions in the womb influence how that pattern actually develops. Factors like rate of bone growth, pressure in the womb, and contact with amniotic fluid all affect the development of fingerprints of the fetus. Since it is virtually impossible for all those conditions to be exactly alike for 9 months, it’s safe to say that no two people have exactly the same fingerprints. The tiny details, called minutiae, that are used by forensic scientists to analyze fingerprints found at a crime scene are slightly different for everyone.
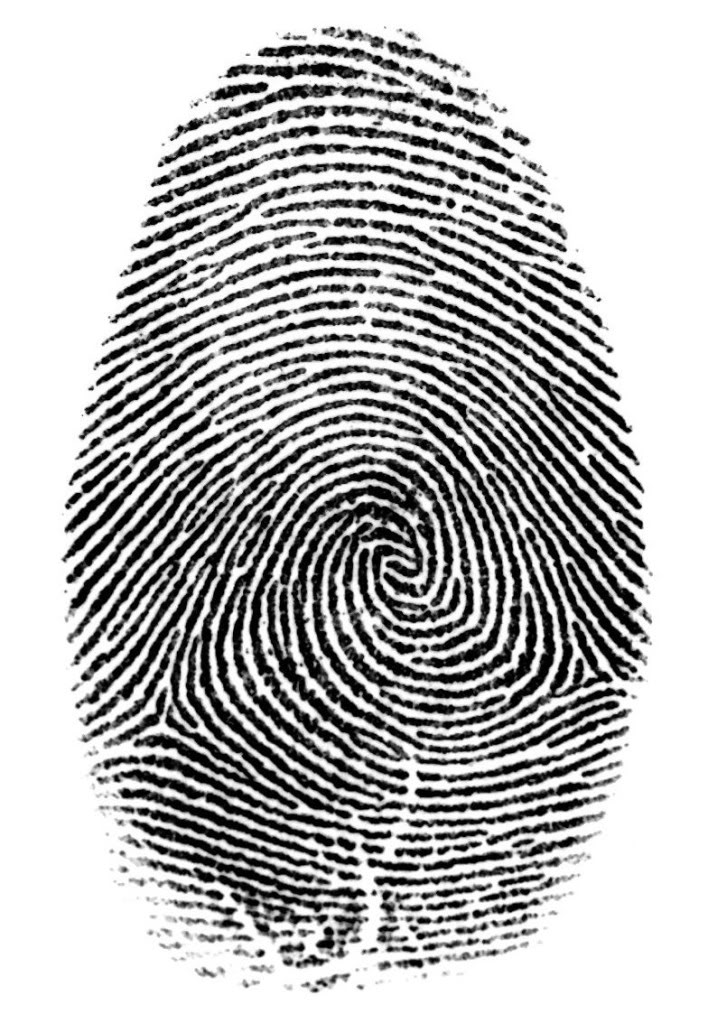
But, there are some basic fingerprint patterns and your child can easily recognize. Here are the basic fingerprint patterns:
 Let your child make prints of his/her own fingerprints and identify the basic type. To make really detailed, long-lasting prints, use an ink pad. The ink will stay on the fingers for a few days, but most can be removed with rubbing alcohol and a good hand-washing. For a less permanent way to make prints, rub pencil “lead” heavily on one spot on a sheet of paper. Have your child press their finger firmly into the mark and then transfer over to clean paper to make a print.
Extensions of the basic fingerprint identification:
1. Fingerprint other members of the family and compare and contrast the prints. Do you find similar patterns? Different patterns?
2. For older children, use a magnifying glass to examine prints for tiny details (minutiae). Examine two fingerprints with the same basic pattern and see how many differences you can find. Examining prints at this level provides practice with observation skills and attention to details.
3. Set up a “who done it” activity for your child. Fingerprint several “suspects” and then make one “crime scene” fingerprint. Label all the prints with the suspects name or “crime scene.” Your child will have fun matching the crime scene print to one of the suspects! Adjust the difficulty level to the age of the child. For older children, choose a crime scene print that looks similar to the fingerprints of multiple suspects. Provide a magnifying glass so they can find a match by examining the minutiae of each print.